Design a flyer and export a print ready PDF with bleed
Make an A4, A5 or Letter flyer online at 300 DPI, check the print safe zone and photo resolution, then export a PDF with bleed and crop marks.
A flyer that looks perfect on screen can still come back from the printer with a thin white line down one side, a phone number trimmed in half or a blurry photo. None of that is bad luck. It comes from three print basics: the page size, the bleed and the resolution of the photos.
This guide walks through a flyer from start to finish in DesignBat, the design editor in OfficeBats, and ends with a PDF a print shop can use. The example is the Corner bakery flyer template at A4, but every step works the same for A5, Letter or a custom size.
Print words in one minute
| Term | What it means |
|---|---|
| Trim size | The finished size of the flyer, for example A4 (210 x 297 mm) or Letter (8.5 x 11 in) |
| Bleed | Extra artwork past the trim edge, usually 3 mm, so no white edge shows if the cut is slightly off |
| Crop marks | Small lines outside the page that show the printer where to cut |
| Safe zone | A margin inside the trim edge where text should stay so it is never cut off |
| DPI | Dots per inch. 300 DPI is the usual target for sharp prints |
Step 1: pick a print size
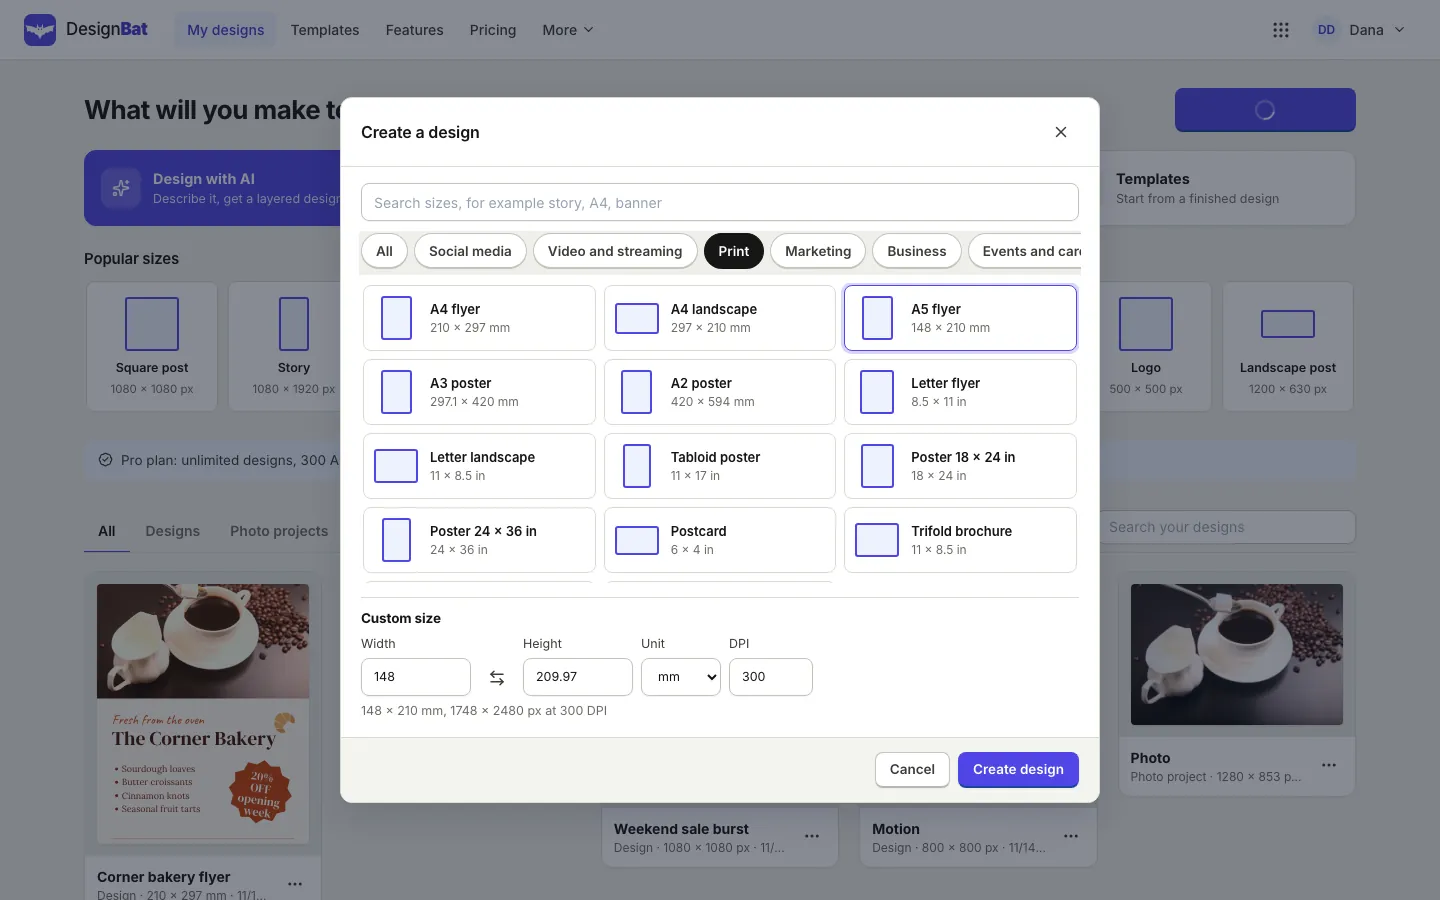
On your dashboard choose Create a design and open the Print category. The print sizes are set up at their real physical size and resolution:
- A4 flyer, 210 x 297 mm, and A5 flyer, 148 x 210 mm
- Letter flyer, 8.5 x 11 in, and Letter landscape
- DL flyer, 99 x 210 mm, for a slim flyer that fits a standard envelope
- Posters from A3 to 24 x 36 in, postcards, menus and a trifold brochure
If your printer gave you a different size, use Custom size at the bottom of the same dialog. Enter the width and height, choose mm or in as the unit and keep DPI at 300. The line under the fields shows the size in pixels, so you can see exactly what you will get.
Prefer to start from a finished layout? Open Templates and choose the Flyer category. Flyer templates already use print sizes such as A4, A5 and Letter, so the physical size is right from the start.
Step 2: lay out the flyer
A flyer is read in three seconds from arm's length. Plan for that:
- One headline that says what it is: an opening, a sale, a class, an event.
- One strong image, a photo or an illustration, big enough to carry the page.
- Three or four short details, such as what you offer, the date or the opening hours.
- One action and how to take it: an address, a phone number, a website or a QR code. You can add a QR code from the Elements panel.
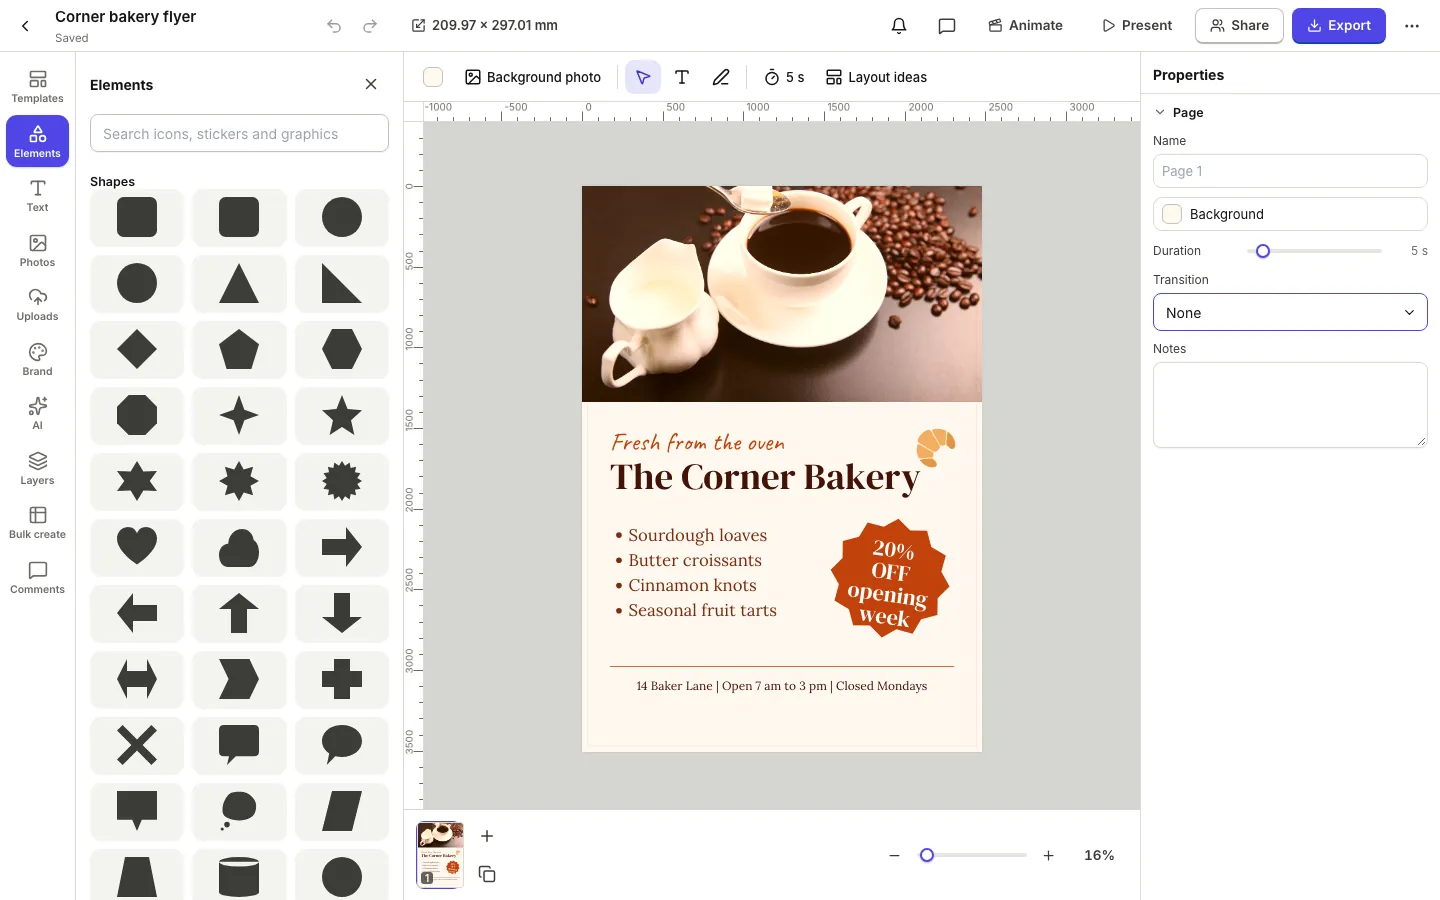
Click any text to change it, replace the photo from Uploads, Photos or your Drive, and use the Brand panel if you have saved your colours and fonts. If you have not yet, make a brand kit for your business first so every flyer matches.
Step 3: let backgrounds run into the bleed
When you export with bleed, DesignBat extends the page background colour into the bleed area automatically. For photos and shapes that should touch the edge of the flyer, drag them slightly past the page edge so they also fill the bleed.
For print sizes, the More menu (the three dots at the top right) has Show bleed guide, which draws the bleed area around the page while you work. Turn it on before you place edge to edge photos.
Step 4: run the print checks
Open the More menu and choose Check design. For print designs it scores Print alongside readability, layout and brand fit, and lists anything that could go wrong on paper:
- Text close to the trim edge, which may be cut when printed. Most of these have a Fix button that moves the text inside the safe zone.
- Low resolution photos. DesignBat works out the real print resolution of every photo at its size on the page. Below 150 DPI it warns you, and it recommends 300 DPI for sharp prints.
- Background colour at the edge, with a reminder to export the print PDF with bleed so no white edge shows after trimming.
Fix what it finds, or choose Show to select the element and decide for yourself. If a photo is too small, use a larger original rather than stretching it.
Step 5: export a print PDF with bleed and crop marks
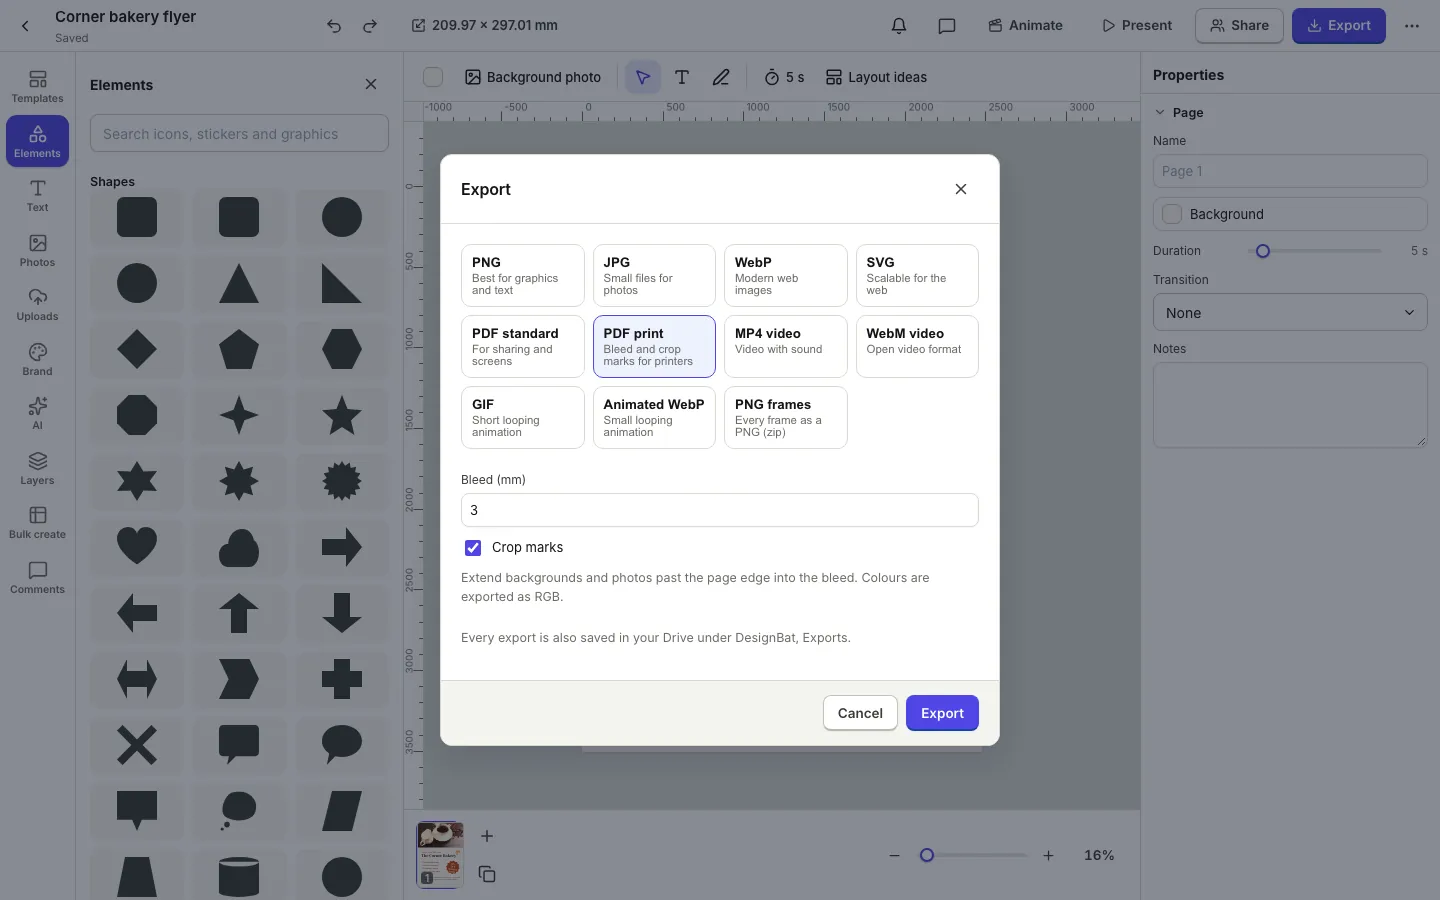
Choose Export in the top right. For print sizes, PDF print is already selected.
- Bleed (mm) is 3 by default, which is what most printers ask for. You can set anything from 0 to 10 mm in half millimetre steps.
- Crop marks is on. It adds marks outside the bleed that show where to cut.
Press Export. The PDF is made at the physical size you chose, so an A4 flyer is a true A4 page plus the bleed and the margin for the marks.
A note on colour
DesignBat exports PDFs in RGB. It does not convert to CMYK or embed print colour profiles. Most digital print shops and online printers accept RGB PDFs and convert them on their side, but very bright blues, greens and oranges can look a little duller on paper. If colour must match exactly, ask your printer whether they accept RGB and request a proof before a large run.
Which PDF to send
| Export | Use it for |
|---|---|
| PDF print | The printer. Bleed and crop marks, physical size |
| PDF standard | Email, your website or a screen. No bleed, no marks |
| PNG or JPG | Social posts and messages that show the flyer as an image |
Every export is downloaded and also saved to your Drive under DesignBat, Exports. You can share it from the Drive with a link instead of an attachment; see how to share a file with a view only link.
Step 6: make the matching versions
A flyer rarely travels alone. Click the size label in the top bar to make a resized copy for an A5 handout, a Letter version for a US printer or a square post that announces the same event. Make a resized copy keeps your original and creates a new design at the new size. It can rearrange the layout with AI, which uses credits from your OfficeBats wallet, or simply scale everything for free.
If you need the same flyer for several branches, dates or names, put placeholders in the text and fill them from a spreadsheet. Bulk create social graphics from a spreadsheet shows how, and it works the same way for print designs.
Free and Pro
Every template and print size, the print checks and PDF print with bleed and crop marks are on the free plan, with 20 designs and 15 exports a day. Free exports carry a small "Made with DesignBat" mark, so for flyers you hand out, Pro is the cleaner choice: no mark, unlimited designs and exports, and uploads up to 60 MB for large photos. One OfficeBats plan covers DesignBat and every other Bats app; see pricing.
Frequently asked questions
What is bleed and how much do I need?
Bleed is extra artwork that extends past the edge of the finished page so no white edge appears after cutting. Most printers ask for 3 mm, which is DesignBat's default. Check your printer's guidelines and change the Bleed (mm) value in the export dialog if they ask for something else.
Does DesignBat export CMYK PDFs?
No. PDFs are exported in RGB at the physical size of the design. Most printers convert RGB to CMYK themselves. If exact colour matters, ask for a printed proof before the full run.
What resolution should photos be for printing?
Aim for 300 DPI at the size the photo appears on the flyer. Check design warns you about any photo that would print below 150 DPI and tells you its approximate print resolution.
Can I print a flyer made at a social media size?
You can, but it is better to start at a print size. Print sizes in DesignBat are set at 300 DPI and their real size in millimetres or inches. Use Make a resized copy to move an existing design to A4, A5 or Letter.
Do crop marks change the size of the PDF?
Yes, slightly. With crop marks on, the PDF page includes the bleed and a small margin around it for the marks. The printer trims back to your flyer's trim size.