How to compress a PDF without losing quality
Learn why PDFs get big, which compression level to pick, and how to shrink files for email and uploads while keeping text sharp and images clear.
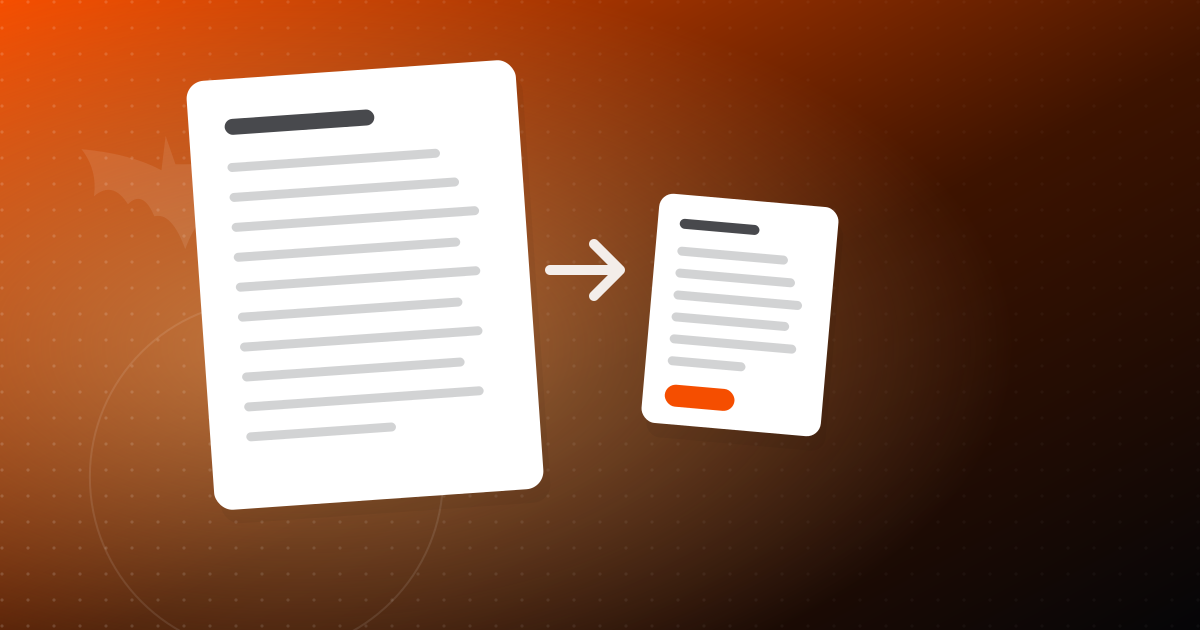
You go to attach a contract, a portfolio or a scanned form, and the upload box tells you the file is too large. The usual fix is to run it through a compressor and hope for the best. Sometimes that works fine. Other times the result has blurry photos, fuzzy signatures and text that looks like it was faxed twice.
The good news is that "compress without losing quality" is mostly about understanding what is inside your PDF and picking the right setting for the job. This guide walks through what actually makes a PDF big, how to choose a compression level, and a few habits that keep files small from the start.
Why some PDFs are huge and others are tiny
A PDF is a container. It can hold text, fonts, vector drawings and images, and each of those takes up space in a very different way.
- Text and vector shapes are cheap. A 40 page report that is mostly text can easily fit in a few hundred kilobytes.
- Embedded fonts add a little weight, especially if a document uses many typefaces or full font files instead of subsets.
- Images are almost always the heavy part. A single photo straight from a phone camera can be several megabytes on its own.
- Scans are images too. A scanned 20 page document is really 20 photographs of paper, which is why scans are often the largest files people deal with.
So when a PDF is large, the question is nearly always "how many images are in it, and at what resolution?" Compression works by reducing image resolution, recompressing image data more efficiently, and cleaning up wasted structure inside the file.
What resolution do you actually need?
Resolution is measured in DPI (dots per inch). Here is a practical guide:
| Use | Sensible image resolution |
|---|---|
| Reading on screen, email attachments | 100 to 150 DPI |
| Office printing, everyday documents | 150 to 200 DPI |
| High quality print, detailed artwork | 300 DPI |
A photo saved at 600 DPI inside a PDF that will only ever be read on a laptop is wasting space. Bringing it down to 150 DPI often makes a dramatic difference in size and no visible difference on screen.
Choosing a compression level
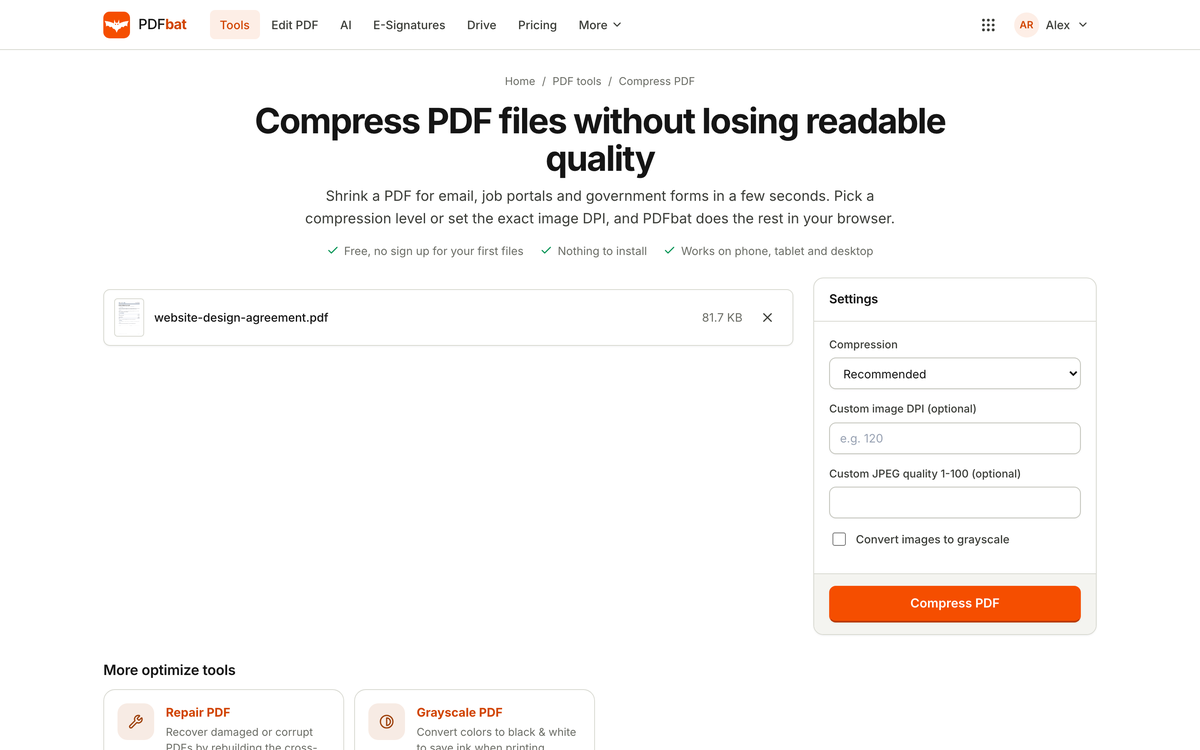
PDFbat's Compress tool offers four compression levels, plus a custom DPI setting and a grayscale option. Rather than guessing, match the level to where the file is going.
- Lightest compression when quality matters most: a design portfolio, a photo heavy brochure, or anything that might be printed.
- Balanced compression for most everyday documents: proposals, reports with charts, manuals.
- Stronger compression for files that only need to be readable: internal paperwork, reference copies, email attachments.
- Strongest compression when hitting a size limit is the only goal, such as an upload portal with a strict cap.
If none of the presets fits, set a custom DPI. This is the most precise way to control quality, because you are telling the tool exactly how detailed the images should stay.
When grayscale is the right call
Grayscale removes color information from the file. For a scanned tax form, a signed lease or a printed receipt, color usually adds nothing, and dropping it can shrink the file noticeably. It is the wrong choice for anything where color carries meaning: charts with colored series, brand materials, photos, or highlighted markup that a reviewer needs to see.
A step by step workflow
Here is a simple process that gets good results most of the time.
- Check the starting size. Note it down so you can see how much you saved.
- Think about the destination. Screen only, printed, or uploaded to a form with a limit? That decides your level.
- Run Compress at a balanced level first. It is a safe starting point for most files.
- Open the result and zoom in. Look at the smallest text, any signatures, and the most detailed photo. If they look good at 100% and 200% zoom, you are done.
- Adjust if needed. Too blurry? Go one level lighter or raise the custom DPI. Still too big? Go one level stronger, or try grayscale if color is not important.
- Save and share. In PDFbat every tool result is saved to your PDF Drive automatically, so you can find both versions later.
This "try, inspect, adjust" loop usually takes a minute or two and avoids the classic mistake of sending a client a crushed, pixelated file.
Tricks that help before you compress
Sometimes the best way to get a smaller file is to remove things you do not need, rather than squeezing what is there.
Remove pages that do not belong
Scans often pick up blank backs of pages, duplicate pages or cover sheets. Use Delete pages or Extract pages to keep only what the recipient needs. Fewer pages means a smaller file before compression even starts. Our guide on merging, splitting and organizing PDFs covers this in more detail.
Flatten when editing is finished
If a document has form fields, comments or annotations that no longer need to be edited, flattening turns them into regular page content. This can tidy up the file structure, and it also means the recipient sees exactly what you see.
Fix the source if you can
If you are exporting a PDF from a design or word processing program, check its export settings. Choosing a "smallest file" or "screen" option at export time often beats compressing afterward, because the program can make smarter choices about its own content.
Honest trade offs
Compression is not magic, and it helps to know where its limits are.
- Text heavy PDFs do not shrink much. If a file is mostly text, it is probably already small. Big savings come from images.
- Already compressed files have little left to give. If someone else already compressed it, a second pass may save only a little and can reduce image quality further.
- Strong compression affects fine detail first. Small print in scans, thin lines in technical drawings and handwriting suffer before large text does. Always check these areas.
- Scans may be better served by OCR plus compression. If you need to search the text in a scan, run OCR too. See how to make scanned PDFs searchable with OCR.
A quick example
A freelance designer has a 30 page portfolio full of high resolution images, and a client's portal only accepts files up to a certain size. Rather than reaching for the strongest setting, they start with a light preset, inspect the most detailed project images, and find a custom DPI that keeps the work crisp on screen while getting under the limit. They keep the full resolution file for print. Ten minutes of care, no blurry thumbnails in front of a client.
Limits worth knowing
On the free plan, PDFbat lets you run 10 tool tasks a day on files up to 25 MB, and free files carry no watermark. Pro and Business raise the file limit to 100 MB and remove the daily task limit, which helps if you regularly work with large scans or batches of documents. You can compare plans on the pricing page.
Because the tools run in the browser, you can compress on a work laptop, a borrowed computer or a phone without installing anything.
The short version
- Big PDFs are almost always big because of images or scans.
- Match the compression level to the destination: lighter for print and portfolios, stronger for reference copies and upload limits.
- Use custom DPI for precise control, and grayscale only when color carries no meaning.
- Zoom in on small text, signatures and detailed images before you send.
- Remove unneeded pages first, and keep your original.
Ready to try it? Open PDFbat, drop in your file, and start with a balanced level. If you do not have an account yet, you can create one free.